Philadelphia, PA
- Food and travel go hand in hand. As you set out to explore new places, documenting the culinary delights you encounter can create lasting memories. Here are some essential tips that will elevate your food photography skills, enhancing your ability to capture mouth-watering images throughout your journeys.
Mastering the Art of Natural Light in Food Photography
Natural light is a vital tool for travelers when capturing food photos. Here are three tips you can use to master it:
- Understand Your Environment: Map out where and when natural light will be at its best during the day. Get familiar with your location and plan accordingly. If your schedule is packed, make time for this essential activity.
- Utilize Shadows: Don't shy away from using shadows created by natural light. They can add depth and an extra layer of interest to your photograph.
- Invest in a Reflector: Reflectors bounce back beautiful, soft light onto your dish, reducing harsh shadows and illuminating details. It's portable, making it perfect for travel.
Mastering natural light requires practice so don’t get discouraged if you don’t see results right away. The journey towards better photography is just as rewarding as the final product!
The Crucial Role of Angles and Close-Up Shots
Depending on the type of food you're photographing, angles can drastically change the outcome. Here are some tips for manipulating angles and close-ups:
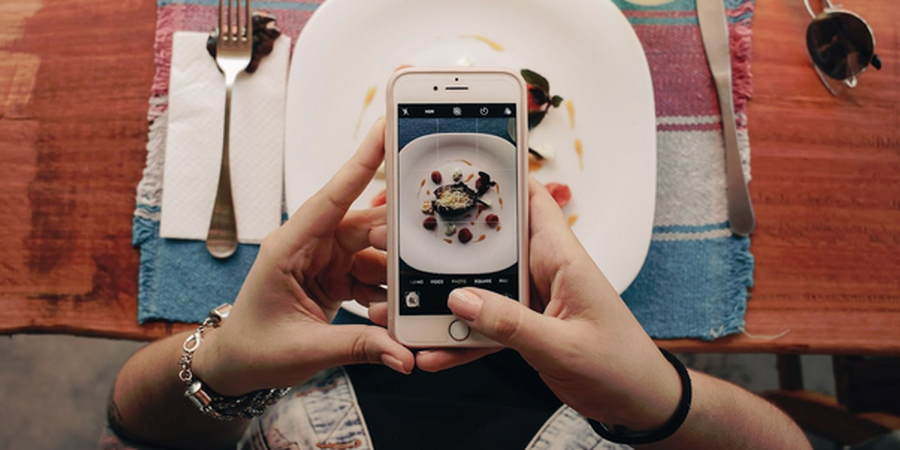
- Shoot From Above: Overhead shots give a birds-eye view focusing on plate presentation and table arrangement.
- Side Angle Shots: Ideal for dishes with multiple layers (like cakes or burgers) as they emphasize depth.
- Use Close Ups: These amplify details, making your audience feel like they can almost taste it.
Also, don’t just stick to one angle per dish. Instead, take multiple photos from different perspectives. This provides variety in your portfolio while also giving you a better understanding about which angle works best for certain types of foods. With experience comes expertise so keep experimenting!
Leveraging Online Tools For On-the-Go Edits
Online editing tools can take your food photographs from good to exceptional. They allow for quick and convenient touch-ups even while you're on the move. Here are ways online editing software can enhance your pictures:
- Adjusting Brightness: Increase the photo's exposure, so details aren't lost in shadows.
- Cropping & Framing: Cut out unnecessary space around your food and highlight the subject matter.
- Saturation Boosts: Enhance colors to make dishes appear more mouthwatering.
Use a professional photo editor online like Picsart which has an array of features tailored towards improving various elements in a picture. With an easy-to-use interface, it’s perfect for beginners who want quality edits without having to understand complex tools.
Just remember that while post-processing enhances images, you need to ensure that they still reflect real-life as much as possible rather than becoming overly edited or artificial-looking shots.


